
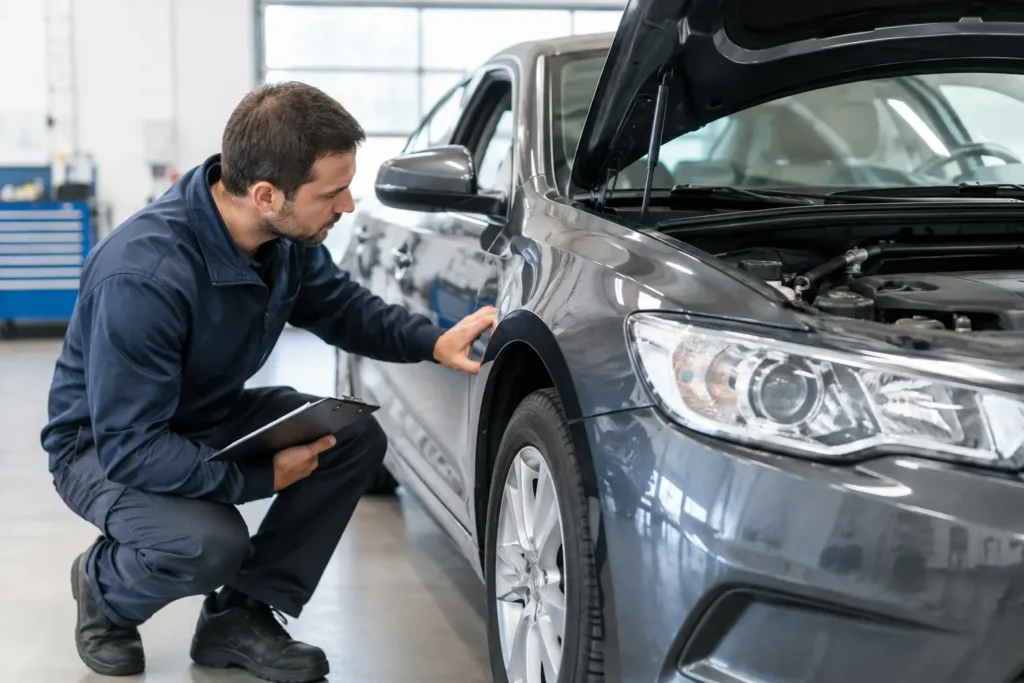
A repaired vehicle can look clean under shop lighting and still deserve a careful final walk-around. Knowing how to inspect repaired vehicles before you accept pickup helps you confirm that the work matches the estimate, the finish meets your expectations, and the vehicle is ready to return safely to Coachella Valley roads.
You do not need to be a body repair expert to ask good questions or spot concerns. A quality collision repair shop should welcome your inspection, explain the work clearly, and address reasonable issues before you leave. Give yourself a few unhurried minutes at pickup, preferably during daylight, and bring a copy of your estimate or repair order.
Start With the Repair Paperwork
Before looking at the vehicle, review the final repair invoice with the advisor. The document should show the repairs completed, replacement parts used, paint and materials charges, and any supplements approved after the initial estimate. Collision damage is not always fully visible until a vehicle is disassembled, so a revised estimate is not automatically a warning sign. What matters is whether the additional work was documented and communicated.
Ask whether the shop used original equipment manufacturer parts, aftermarket parts, recycled parts, or a combination. The right choice depends on your insurer, vehicle age, part availability, and the type of damage. OEM parts may be preferred for fit or certain safety-related components, while quality alternatives can be appropriate in other situations. The shop should be straightforward about what was installed and why.
Also ask about the repair warranty, paint warranty, and any calibration or diagnostic records associated with the repair. Keep the final invoice, estimate, photos, and warranty information together. These records can be useful for future maintenance, insurance questions, or resale.
How to Inspect Repaired Vehicles Outside
Begin your inspection from several feet away. Walk around the vehicle slowly and look at the repaired area from different angles. You are checking the overall appearance first, not searching for microscopic imperfections before you understand the finished repair.
Check panel gaps and alignment
Look at the spaces around doors, hood, trunk, liftgate, headlights, taillights, bumpers, and fenders. These gaps should appear even and consistent from side to side. A bumper cover should sit securely against adjoining panels, and lights should not look loose, tilted, or recessed.
Open and close any repaired door, hood, trunk, or liftgate. It should operate smoothly without sticking, dropping, rubbing, or requiring extra force to latch. If a door was repaired after a side impact, confirm that it opens, closes, and locks normally. Misalignment can sometimes be subtle, which is why comparing the repaired side with the undamaged side is helpful.
Look closely at paint and finish quality
Stand in natural light if possible. Paint can appear different indoors than it does outside in the bright desert sun. Check the repaired panel from a few angles for a consistent color and gloss. Metallic and pearl colors can be especially challenging to blend, so view the repair from both near and far rather than expecting a perfect match from one position.
Look for overspray on trim, glass, weatherstrips, wheels, door jambs, or nearby panels. Run a clean hand lightly over the surface only after confirming the paint is fully cured according to the shop’s instructions. The finish should feel smooth, without obvious roughness, runs, sanding marks, dirt nibs, or tape lines.
Some repairs require blending paint into adjacent panels to produce a natural color transition. That may mean more than the visibly damaged panel was refinished. Your final paperwork should make that clear.
Inspect lights, trim, glass, and tires
Check that headlights, taillights, fog lights, reflectors, grille pieces, molding, badges, mirrors, and trim are properly secured. Test the exterior lights, turn signals, hazards, reverse lights, and brake lights with help from the advisor if needed.
If the accident involved glass or mirror damage, look for chips, cracks, wind noise concerns, or loose seals. Examine the tires and wheels, particularly after curb contact or suspension-related damage. A wheel should not have new scuffs or bends that were not present before the repair, and tires should not show visible sidewall damage.
Inspect the Interior and Vehicle Functions
Collision work often involves more than panels and paint. Technicians may remove interior trim, seats, door panels, bumper components, sensors, or electrical connectors to access damage and complete repairs. Take a moment to sit in the vehicle and test everyday functions.
Check the windows, locks, mirrors, seat controls, trunk release, horn, wipers, washer fluid, climate controls, radio, backup camera, and charging ports. If your vehicle has a sunroof, power liftgate, parking sensors, blind-spot monitoring, or a 360-degree camera, test those features as well.
Make sure the interior is reasonably clean and that panels fit securely. A few items such as floor mats or trunk liners may have been moved during repair, but they should be returned and properly installed. Report loose trim, rattles, missing fasteners, unusual odors, or warning messages before you leave.
Confirm Safety Systems and Calibrations
Modern vehicles rely on advanced driver assistance systems, often called ADAS. Cameras, radar sensors, and other components support features such as forward collision alerts, automatic emergency braking, lane departure warnings, adaptive cruise control, parking assist, and blind-spot monitoring.
A repair involving the bumper, windshield, grille, mirrors, suspension, steering, or front-end structure may require diagnostic scans or sensor calibration. Not every accident calls for calibration, but it should be considered whenever manufacturer procedures require it. Ask the shop which systems were checked, whether calibrations were performed, and whether any warning lights remain.
When you start the vehicle, the dashboard should complete its normal bulb check and then clear of persistent warning lights. Never accept an explanation that a new airbag, ABS, traction control, check-engine, or ADAS warning light is simply unrelated without a clear diagnosis. Warning lights are a reason to pause and ask for documentation.
For structural repairs, you can also ask whether the vehicle was measured and repaired according to manufacturer specifications. Proper frame and unibody work is not something you can fully judge with your eyes. It depends on trained technicians, correct measuring equipment, repair procedures, and quality control.
Take a Careful Test Drive
A short drive is one of the best ways to identify a concern that is not visible in the parking lot. The route does not need to be long or fast. Start with normal city driving, gentle braking, turns, and a few uneven road surfaces if available.
Pay attention to whether the steering wheel is centered, the vehicle tracks straight, and the brakes feel predictable. Listen for new rattles, scraping, wind noise, clunks, or vibrations. Test the backup camera and parking sensors in a safe area. If your vehicle had suspension, wheel, tire, or steering damage, ask whether a wheel alignment was completed and request the alignment results when applicable.
Do not dismiss a new noise because the vehicle has been through a repair. It may be minor, but reporting it promptly gives the shop a fair opportunity to inspect it. At the same time, be realistic about unrelated pre-existing issues. A trusted repair facility can help distinguish between accident-related concerns and normal maintenance needs.
A Simple Pickup Checklist
Before driving away, confirm these practical details:
- The repairs and parts on the invoice match what was explained to you.
- Panel gaps, paint, lights, glass, trim, and repaired components look properly finished.
- Doors, windows, locks, trunk or liftgate, and interior controls work as expected.
- No dashboard warning lights remain, and required scans or calibrations are documented.
- The vehicle drives straight, brakes normally, and has no new noise or vibration.
Photograph the repaired areas before leaving the shop. This is not about assuming the worst. It simply gives you a clear record of the vehicle’s condition at delivery and can be helpful if you notice something later.
What to Do If You Find a Problem
Point out the issue while you are still at the shop. Be specific: describe where you see it, when it happens, and whether it is visual, functional, or driving-related. A clear conversation is more productive than a vague statement that something does not feel right.
Most reputable shops want the chance to inspect and correct a legitimate concern. Some items can be addressed immediately, while others may require an appointment, parts, or additional diagnostic time. Get the next step in writing, including who will contact you and when.
For drivers across Cathedral City and the Coachella Valley, CatCity Auto Body approaches final delivery as part of the repair process, not an afterthought. Certified repair work, clear estimates, insurance coordination, and a thorough handoff help reduce the uncertainty that follows an accident.
Your vehicle is a daily connection to work, family, appointments, and the places you need to be. Take the time to inspect it, ask questions without hesitation, and leave only when you feel confident in the repair and comfortable behind the wheel.